The Tattoo Removal Healing Process: A Day-by-Day Guide
Published on: August 27, 2026 | Last Updated: August 27, 2026
Written By: Ashita no Joe
What happens after your laser tattoo removal session? The unknown can be the most nerve-wracking part, leaving you searching for answers about what’s normal and what’s not.
This guide walks you through the entire recovery timeline, day by day, so you know exactly what to expect. You’ll get a detailed look at the daily healing stages, learn how to manage common symptoms, and receive my professional aftercare advice to ensure your skin recovers smoothly.
Understanding the Tattoo Removal Healing Timeline
Your skin’s journey after a laser session is a biological process, not a magical erasure. The laser shatters ink particles, and your body’s immune system then works to flush them away over time. This creates a predictable pattern of healing that I’ve witnessed on myself and hundreds of clients.
Patience is your greatest asset here. Each session only clears a fraction of the ink, and your body needs weeks to process it fully before the next round. Rushing the process leads to disappointment and potential skin damage.
Immediate Post-Treatment Care: The First 24 Hours
This initial period sets the stage for everything that follows. How you treat your skin now directly impacts your comfort and final results. Your treated skin is an open wound and must be cared for as such. I’ve learned this the hard way after getting a stubborn knuckle tattoo removed. Understanding each stage of tattoo removal is crucial for proper aftercare.
Managing Redness and Swelling
Expect the area to look angry and feel tender, like a bad sunburn. This is a completely normal inflammatory response.
- Apply a cold compress or an ice pack wrapped in a clean cloth for 15-minute intervals.
- Keep the treated area elevated above your heart whenever possible to reduce blood flow and swelling.
- Take an over-the-counter anti-inflammatory like ibuprofen if you are able, following package directions.
- Avoid hot showers, saunas, and strenuous exercise that induces heavy sweating.
Controlling inflammation in these first hours drastically reduces overall discomfort in the following days. The skin will feel tight and warm to the touch.
Initial Cleansing and Moisturizing
Gentle hygiene is non-negotiable. You must keep the area clean to prevent infection while allowing it to breathe and heal.
- Wash your hands thoroughly with soap and water before touching the area.
- Gently cleanse the skin with a mild, fragrance-free soap and lukewarm water. Pat dry with a clean paper towel-do not rub.
- Apply a thin layer of a recommended ointment like pure petroleum jelly or a specialized post-laser cream. A thick layer can trap heat and bacteria.
- Cover the area with a sterile, non-stick bandage for the first night to protect it while you sleep.
I always tell my clients that less is more when it comes to moisturizing during this stage; you want to create a protective barrier, not a soggy environment. Avoid any products with alcohol, fragrance, or acids. Your goal is simple, clean, and protected.
Days 1 to 3: The Early Healing Phase
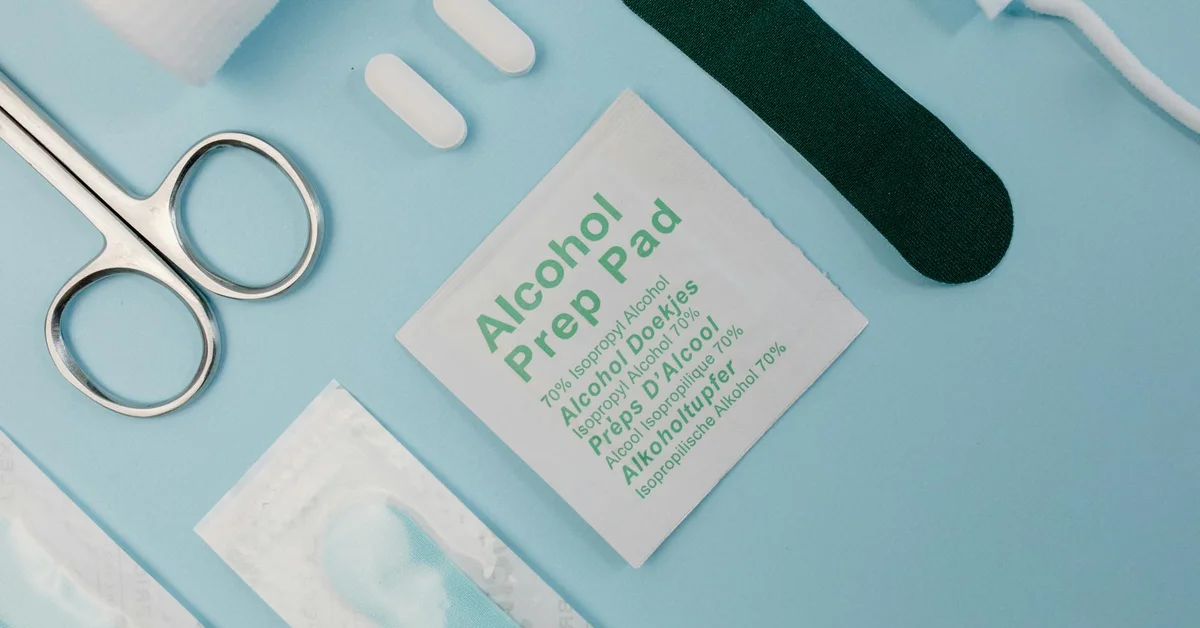
The first 72 hours after a laser session set the stage for your entire recovery. Your skin will feel like a severe sunburn, and this is a completely normal inflammatory response to the laser’s energy. I’ve experienced this sensation myself, and the key is managing it proactively, not panicking. An aftercare guide for laser sessions explains what to expect in the days after treatment and how to care for your skin. Sticking to it will support faster, safer healing.
Dealing with Itching and Discomfort
Itching is the most common complaint during this phase, signaling that your body has started its repair work. Resisting the urge to scratch is non-negotiable, as breaking the skin can lead to scarring and infection. I tell all my clients that scratching a healing tattoo removal site is like tearing open a surgical stitch. For those wondering how to cope with the itch, this guide on managing itching during tattoo removal offers practical, safe strategies to ease itchiness and protect healing skin.
Here are the methods I personally use and recommend to my clients for managing this intense itching.
- Apply a Cold Compress: Wrap an ice pack in a clean cloth and hold it against the area for 10-15 minute intervals. The cold numbs the nerve endings and reduces swelling, providing immediate, drug-free relief.
- Use Recommended Ointments Sparingly: A thin layer of a product like Aquaphor or a prescribed antibiotic ointment can create a protective, soothing barrier. Smothering the area prevents the skin from breathing and can trap heat.
- Gently Tap the Area: When the itch feels unbearable, use the palm of your hand to tap around the perimeter of the treated site. This provides a distracting sensation without causing any damage to the fragile skin.
- Keep the Area Elevated: If the treated area is on a limb, prop it up on a pillow, especially when resting. This simple action uses gravity to help reduce blood flow to the area, minimizing both swelling and throbbing.
Avoid any DIY remedies you find online unless they are explicitly approved by your technician. I have seen clients cause significant chemical burns by applying lemon juice or undiluted essential oils to their freshly lasered skin. Your aftercare protocol is your most powerful tool for a clean, effective removal.
Days 4 to 7: Peeling and Skin Renewal
This is the phase where your skin truly begins its reconstruction. I always tell my clients that the peeling stage looks far worse than it feels, and it’s a definitive sign your body is healing correctly. The treated area will start to flake and peel, much like a sunburn, revealing fresh, pink skin underneath.
What Not to Do During Peeling
Your actions during this critical window directly impact your final results and the risk of scarring. Resisting temptation is your single most important job right now. I’ve seen fantastic removal results get compromised by a moment of impatience.
- Do not pick or peel the skin. Let it come off naturally in the shower or when you gently pat it dry. Forcing it off can pull away new, delicate skin and cause hypopigmentation (light spots) or scarring.
- Avoid hot tubs, saunas, and swimming pools. Submerging the healing skin in public or chemically treated water introduces bacteria and can lead to a nasty infection.
- Stop using heavy ointments. Around day four, I switch from a thick ointment to a simple, fragrance-free moisturizer. This allows the skin to breathe and prevents clogged pores.
- Do not expose the area to direct sunlight. The new skin is incredibly vulnerable to UV rays. Sun exposure now can cause permanent hyperpigmentation (darkening), setting back your entire removal journey.
- Avoid tight, abrasive clothing. Friction from rough fabrics like wool or tight waistbands can irritate the sensitive new skin and disrupt the peeling process.
- Do not use exfoliants or harsh soaps. Your skin is exfoliating itself. Adding scrubs or antibacterial soaps will only cause damage and inflammation.
From my own experience removing a tattoo on my wrist, this was the most challenging phase. The itchiness can be intense, but scratching is absolutely forbidden. A light tap around the area is a much safer way to relieve the sensation without harming the new skin. Since the skin is especially sensitive during tattoo removal, I leaned on gentle, fragrance-free care and barrier protection. A simple routine—mild cleansers, a thin layer of healing ointment, and sun protection—helped me manage irritation and support healing.
Weeks 1 to 2: Settling and Ongoing Aftercare
This is the phase where the real healing groundwork is laid. Your skin is actively repairing itself beneath the surface, making consistent aftercare your single most important job. I’ve seen clients rush this stage and pay for it with prolonged redness or texture changes.
Sun Protection and Scarring Risk
Think of your freshly lasered skin as brand-new, baby skin. It has zero defense against UV rays. Sun exposure on a healing tattoo removal site is the fastest way to cause permanent hyperpigmentation, or dark discoloration, that can be harder to remove than the original tattoo ink. I never skip sunscreen, and neither should you. After your session, keep the area covered or shaded while it heals. Use a broad-spectrum SPF 30+ sunscreen and reapply often when outdoors.
- Become a Sunscreen Zealot: Use a mineral-based, broad-spectrum sunscreen with an SPF of 50 or higher. Apply it every single time the area will be exposed, even on cloudy days or during a short drive.
- Cover Up Religiously: Your best defense is a physical barrier. Wear loose, dark clothing over the area. A breathable, sweat-wicking arm sleeve is a fantastic investment for arm or leg tattoos.
- Scarring is a Real Possibility: The laser creates a controlled injury. Your body’s response determines if it heals cleanly. Picking at scabs or neglecting aftercare directly increases your risk of textural changes and scarring. Let the scabs fall off naturally, no matter how tempting it is.
- Hydration is Internal Too: Drink more water than you think you need. Well-hydrated skin heals faster and with better elasticity, which minimizes long-term damage.
From my own experience removing a dense black tattoo from my forearm, I treated the area like it was made of glass for a full two weeks. That meticulous care is why the skin there is now smooth and clear, with no trace of the ink or the process. After the removal is complete, continuing gentle skin care helps maintain those results and support full recovery. Even after healing, protecting the skin with moisturizer and sunblock matters.
Long-Term Healing and Monitoring Progress
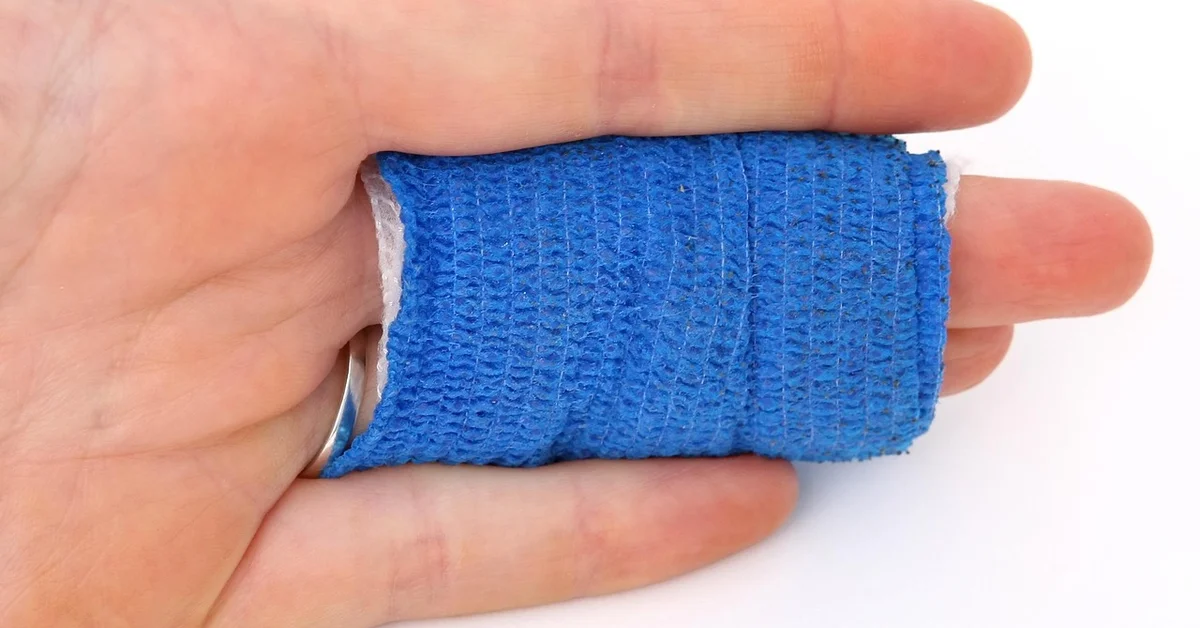
Your skin continues its repair work long after the initial scabbing phase ends. This is where patience truly becomes your most valuable tool, as the full results of each session take months to develop. I always tell my clients that the removal process is a marathon, not a sprint. The body is slowly flushing out the shattered ink particles, and this happens on a cellular level you can’t rush. Progress is assessed session by session, and most tattoos require multiple sessions to reach the final result. You’ll usually notice incremental fading after each appointment.
Recognizing Signs of Complications
While most healings are straightforward, you must stay vigilant. Your skin has been through a controlled injury, and knowing the difference between normal healing and a red flag is critical. Ignoring a complication can lead to scarring or infection, setting your entire removal journey back by months. During saline tattoo removal, scabbing is a normal part of the healing process, and following a careful aftercare routine helps it resolve cleanly. Be mindful of the scabs and avoid picking at them to minimize the risk of infection or scarring. I’ve seen clients panic over normal swelling and, conversely, downplay a serious infection. Trust your gut—if something feels wrong, it probably is.
Here are the symptoms that should prompt an immediate call to your removal technician or doctor:
- Spreading Redness: Some redness around the treatment site is normal for a few days. A growing red area or red streaks radiating from the wound is a classic sign of a spreading infection.
- Pus or Unusual Discharge: Clear plasma or a little lymph fluid is part of the healing process. Thick, yellow, or green pus is not. This indicates a bacterial infection that needs medical attention.
- Intensifying Pain: The treated area will be tender and sore. A sudden, sharp, or throbbing pain that gets worse instead of better over the first 48 hours is a major warning sign.
- Fever and Chills: Your body’s response to a localized infection can become systemic. If you develop a fever or feel generally unwell, your body is fighting something significant.
- A Foul Odor: A healing wound should not smell bad. A distinct, unpleasant odor is almost always a signal of infection.
On the flip side, some things are perfectly normal and part of the process. Itching is incredibly common and a positive sign that new skin is forming underneath. Resist the urge to scratch. Hypopigmentation (lightening of the skin) or hyperpigmentation (darkening of the skin) can also occur temporarily. In my own experience, a few of my treated spots looked lighter for several months before the skin color evened out. Blistering is another standard reaction for many people, especially with modern Q-switched lasers. Leave the blisters intact-they protect the new skin forming beneath.
Frequently Asked Questions
What is the best cream to use for tattoo removal healing?
After the initial peeling phase (around day 4), switch to a gentle, fragrance-free moisturizer to keep the new skin hydrated and support healing without clogging pores; always avoid products with harsh chemicals or alcohol, as they can irritate the sensitive area.
Are there pictures available of the tattoo removal healing stages?
While visual references can be helpful, healing varies per person, but you can generally expect stages like redness and swelling initially, followed by peeling and flaking as new pink skin emerges; consult your technician for personalized examples to understand what’s normal for your skin type.
What is the typical healing time for tattoo removal?
The visible healing, such as redness and peeling, usually resolves within 1-2 weeks, but full internal healing and ink fading can take 6-8 weeks or longer between sessions, as your body gradually flushes out the ink particles over time.
Closing Words
Your body needs time to undo what a tattoo machine put in. Treating tattoo removal healing with the same respect you gave the initial tattooing process is non-negotiable for a clean result. Patience isn’t just a virtue here; it’s a requirement for your skin to recover properly and reveal the clear canvas underneath.
From my own experience removing tattoos, I can tell you that skipping aftercare steps always prolongs the journey. Stick to the professional plan, resist the urge to pick, and trust the gradual fading between sessions. Your future, ink-free skin will thank you for the diligent care you provide today.
Further Reading & Sources
- The Laser Tattoo Removal Healing Process | Removery
- Tattoo Removal Recovery: Timeline and Aftercare Tips
Ink Fade Lab is your trusted source for tattoo removal insights, combining expert knowledge with compassionate care to help you make informed decisions about your tattoo journey. Based on years of experience in the tattoo removal industry, we are dedicated to providing accurate, up-to-date information to support your choices.
Healing Stages