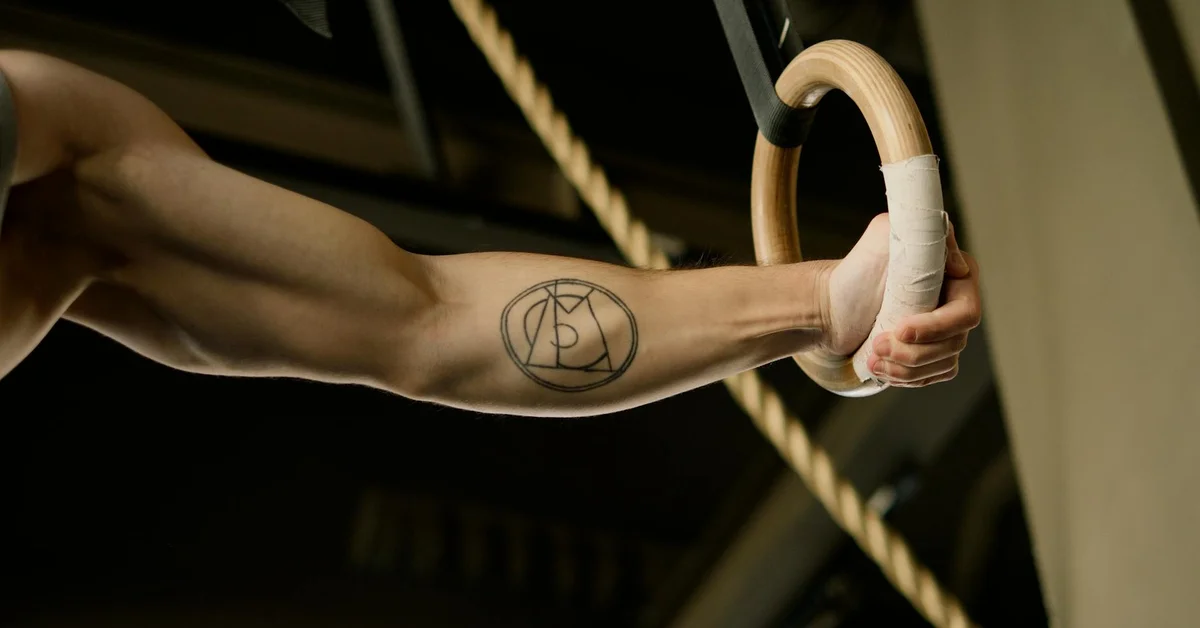
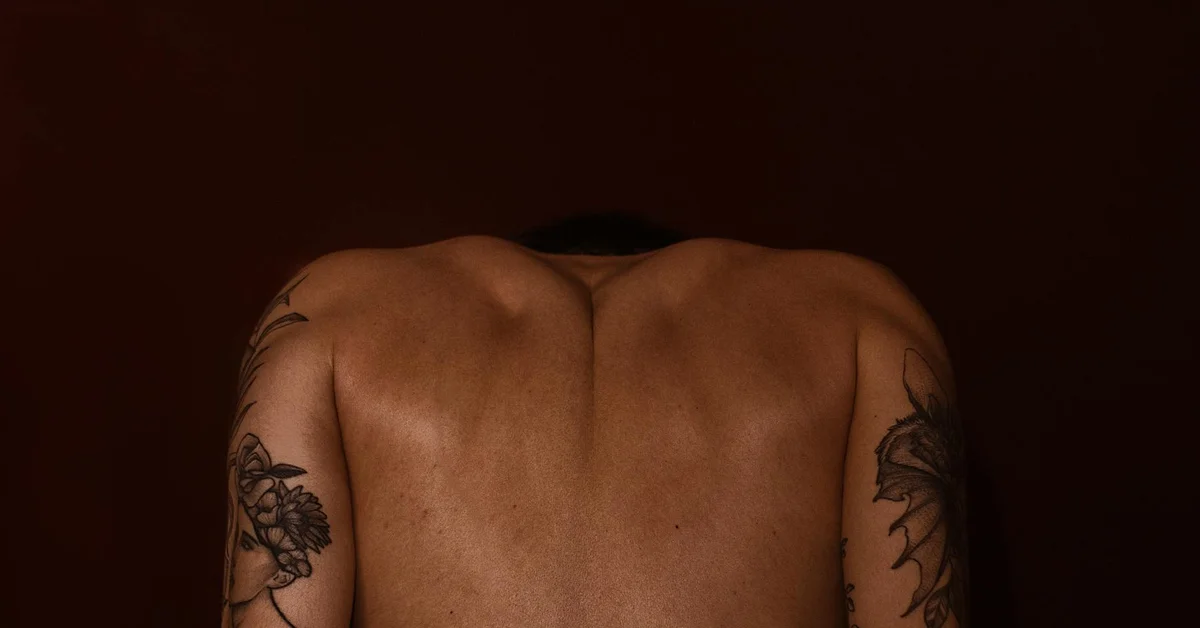
Can You Do Saline Tattoo Removal at Home?
Published on: November 3, 2025 | Last Updated: November 3, 2025
Written By: Ashita no Joe
Have you ever stared at a tattoo and felt a pang of regret, wondering if there’s a safe way to fade it away in your own bathroom? I’ve been there myself-both as a tattoo artist who has removed ink from clients and as someone who has dealt with my own tattoo mistakes. This guide cuts through the noise to give you honest, practical advice on whether saline removal at home is a real solution or a risky gamble.
I’ll break down the facts based on my hands-on experience and industry knowledge. You’ll learn exactly how the saline method works, the serious risks of DIY attempts, and what professional alternatives can offer for safer, more effective results.
What Is Saline Tattoo Removal and How Does It Work?
Saline tattoo removal is a process where a concentrated salt solution is tattooed into the unwanted ink, prompting your body to push it out through the skin’s surface. It’s fundamentally different from laser removal, which shatters ink particles with light energy.
Think of it like this: the saline solution creates a high-concentration salt environment right in the tattoo. Your body’s natural healing response kicks into overdrive, treating both the saline and the tattoo ink as foreign substances it needs to expel. The goal is to literally lift the pigment out of the dermis and up through the scab that forms.
Here is the basic mechanism, step-by-step:
- A sterile, concentrated saline solution is loaded into a tattoo machine.
- The technician uses the machine to implant the solution directly into the tattooed skin, much like applying the tattoo originally.
- Over the next few hours, the area becomes inflamed and may weep a plasma-like fluid.
- A scab forms, typically within 24 to 48 hours, which contains the suspended ink particles.
- As this scab naturally hardens and falls off over one to two weeks, it pulls the ink out with it.
It’s a chemical process, not a thermal one. From my own experience performing this in a studio, the results are heavily dependent on the technician’s skill and the client’s aftercare discipline. A single session only lightens a tattoo; complete removal requires multiple visits spaced several weeks apart.
Weighing the Risks: Safety of DIY Saline Tattoo Removal
Attempting this procedure on yourself is a completely different ballgame from having it done professionally. The controlled environment of a studio is swapped for your bathroom, and sterile technique is often compromised.
The single biggest risk of a DIY approach is introducing a serious infection. You are creating an open wound, and without proper sterilization of equipment and the workspace, you are inviting bacteria directly into your system. I’ve seen clients come in with nasty infections from at-home attempts that required antibiotics and left worse marks than the original tattoo.
Beyond infection, you are gambling with the final appearance of your skin.
Common Side Effects and Complications
Even in a professional setting, side effects occur. At home, they are almost guaranteed to be more severe and harder to manage.
- Severe Scarring and Texture Changes: The saline solution can damage the skin’s collagen if it’s too concentrated or left on too long. This can leave you with raised, pitted, or discolored scars that are permanent.
- Hypopigmentation or Hyperpigmentation: The trauma can destroy or overstimulate your skin’s melanin-producing cells. This leaves spots that are significantly lighter or darker than your natural skin tone.
- Incomplete or Blotchy Removal: It is incredibly difficult to be consistent with hand pressure and needle depth on yourself. The result is often a patchy, splotchy mess where some ink is gone and some remains, looking worse than the original design.
- Allergic Reactions: You might be introducing new, unknown chemicals into your skin. Off-the-shelf saline solutions can contain preservatives or other additives that trigger a severe reaction.
- Prolonged Healing and Pain: Without professional guidance on aftercare, the healing process can drag on for weeks, be intensely painful, and require constant, painful dressing changes.
I’ve had a small tattoo removed with saline myself, and the meticulous aftercare was a round-the-clock job; attempting that on a larger area alone is a recipe for disaster. The complications you can create are often far more difficult and expensive to correct than the original tattoo ever was. For proper aftercare, people commonly use ointments like Aquaphor to keep the area moisturized, and a clinician may prescribe a topical antibiotic if there’s a risk of infection.
A Step-by-Step Guide to At-Home Saline Tattoo Removal
Essential Supplies for Home Saline Removal
Gathering the right tools is your first defense against infection and poor results. I keep a dedicated, sterile kit for this purpose.
- Medical-Grade Saline Solution: Do not use table salt and water. You need a sterile, pre-mixed solution designed for wound care.
- Distilled Water: For rinsing and mixing if your solution comes as a concentrate.
- High-Quality Tattoo Machine & Needles: A reliable rotary machine and sterile single-use needle cartridges are non-negotiable.
- Protective Barriers: Nitrile gloves, surface covers, and ink caps to maintain a clean field.
- Aftercare Ointment: A thin, breathable product like Bacitracin or a specialized tattoo aftercare balm.
- Green Soap & Disinfectant: For prepping the skin and cleaning your equipment.
Attempting this process without proper sterilization is a direct invitation for a nasty infection or permanent scarring.
Application and Healing Process
This is not like applying a cream; you are creating a controlled wound. The sensation is often described as a hot, intense scratching.
- Prep the Skin: Shave the area if needed, then thoroughly disinfect with a medical-grade skin scrub. I cannot overstate the importance of a clean canvas.
- Load the Solution: Fill an ink cap with your sterile saline solution. Use a new cap for each session to prevent contamination.
- Lightly Tattoo the Area: Using a tight liner or magnum needle grouping, trace over the tattoo. You are not trying to re-tattoo it. You are opening the skin just enough for the saline to penetrate the dermis and osmotically draw out the ink.
- Apply Steady Pressure: After needling, use a clean gauze pad to press firmly on the area. You will see ink and plasma weep to the surface-this is the goal.
- Let it Scab: Do not cover it with a bandage. The area must dry out and form a scab. This scab is what will lift the ink out as it falls off over 1-2 weeks.
The healing phase is uncomfortable and requires serious discipline-you must not pick or scratch the forming scab, no matter how much it itches.
How Effective Is DIY Saline Tattoo Removal?
Realistic Expectations for Tattoo Fading
From my own experience removing a small script tattoo, I can tell you that patience is your greatest asset. You will not see dramatic results after one session.
- Multiple Sessions are Mandatory: Plan for a minimum of 4-6 sessions, spaced 6-8 weeks apart, to see significant lightening on a simple, amateur tattoo.
- Professional Ink is Stubborn: Tattoos done in a professional shop with high-quality, dense ink will require many more sessions and may never fully disappear.
- Fading, Not Erasure: The most common outcome is a noticeable lightening or a “ghost” of the original tattoo. Complete removal is rare with at-home methods.
- Scarring is a Real Possibility: Even with perfect technique, your skin texture will likely change. The goal is to minimize this as much as possible.
Managing your expectations from the start will save you from frustration and the temptation to overwork the skin, which leads to worse scarring.
Aftercare Essentials for Home Saline Removal
How you care for the wound directly impacts your final result. I treat it with more caution than a new tattoo.
- Keep it Dry & Uncovered: For the first 24-48 hours, let the area breathe. Avoid long showers, pools, and saunas.
- Gentle Cleansing: After the first day, you can gently rinse the area with lukewarm water and a mild, fragrance-free soap. Pat dry-do not rub.
- Minimal Moisturizing: Once a light scab has formed, apply the thinnest possible layer of aftercare ointment. Too much moisture will prevent the ink from lifting out.
- Become a Sun-Avoider: The treated skin is extremely vulnerable to UV damage. Keep it completely out of the sun for the entire healing process and use high-SPF sunscreen indefinitely afterward.
- No Picking: Let the scab fall off naturally. Ripping it off prematurely will pull living skin with it and guarantee a scar.
Proper aftercare is what separates a moderately successful fade from a blotchy, scarred reminder of a tattoo you didn’t want.
DIY vs. Professional Saline Tattoo Removal
Let’s be direct: the difference between doing this yourself and having a professional handle it is the difference between a controlled medical procedure and a hopeful experiment. Professional saline removal uses a specialized machine called a rotary pen to implant the solution deep and evenly into the dermis, precisely where the tattoo ink resides. This isn’t just rubbing something on the surface; it’s a targeted technique.
Attempting this at home means you’re working blind, with no way to gauge the correct depth or pressure. You risk severe scarring, infections from improper sterilization, and pigment changes that can leave a ghostly white or dark shadow permanently stamped on your skin. I’ve seen clients come to me to fix DIY attempts, and the damage is often more difficult to treat than the original tattoo.
When to Seek Dermatologist Advice
You should immediately consult a dermatologist or a certified removal specialist before you even consider touching a tattoo with any removal method if your situation involves any of the following for a proper assessment and removal in Connecticut:
- Tattoos located on the face, hands, neck, or over bony areas like ankles or ribs.
- Any sign of a previous allergic reaction to the tattoo ink, such as persistent itching, swelling, or raised skin.
- Scar tissue already present within or around the tattoo from the initial application.
- Tattoos with large areas of solid color, like blackouts or heavy color packing.
- If you have a history of keloid scarring or skin conditions like psoriasis or eczema in the area.
Your skin’s health is not a guessing game, and a professional assessment can prevent a minor annoyance from becoming a major, irreversible problem. I personally would never attempt to remove a tattoo from one of these high-risk areas on my own, and I have the tools and knowledge.
Exploring Home Saline Tattoo Removal Kits
These kits typically contain a small bottle of saline solution and a set of tattoo needles or a single needle. The concept is simple: you use the needle to repeatedly puncture the skin and introduce the saline, hoping it will draw the ink to the surface during the healing process. The reality is that these kits offer an illusion of control and safety that simply doesn’t exist outside a professional setting.
The saline solution in these kits is often a standard concentration, not customized for your skin type or the tattoo’s ink composition. Without the high-speed machine a professional uses, you cannot create the consistent, microscopic channels needed for the solution to effectively interact with the deeper ink particles. You’re likely only affecting the most superficial layers, leading to faded, blotchy results at best.
Consider what a typical at-home process actually involves:
- You must sterilize your skin and a workspace impeccably-a near-impossible task at home.
- You then manually stab your own skin hundreds, if not thousands, of times.
- You apply the solution, hoping it soaks in correctly.
- You then face a significant open wound that requires perfect aftercare to avoid infection.
This process is not just painful; it’s a significant trauma to the skin that you are ill-equipped to manage without clinical training. The scabbing and healing phase is where most home attempts fail, leading to infection or scarring that becomes a permanent reminder of the attempt.
Frequently Asked Questions
How much does saline tattoo removal cost?
The cost of professional saline tattoo removal varies based on factors like tattoo size, location, and the number of sessions needed, typically ranging from $100 to $500 per session. While DIY kits may seem cheaper, they often lead to higher expenses due to potential complications like infections or scarring that require professional correction.
How does saline tattoo removal compare to laser removal?
Saline removal uses a chemical process to draw ink out through the skin, making it suitable for sensitive areas or certain ink colors, but it often requires more sessions and carries a higher scarring risk if not done correctly. Laser removal shatters ink particles with light energy, generally offering faster results for deep or dark inks but at a higher cost and potential for skin irritation.
Where can I find saline tattoo removal near me?
To locate a qualified saline tattoo removal provider, search for certified tattoo studios or dermatologists specializing in removal, and verify their credentials and before-and-after portfolios. Choosing an experienced professional ensures safer, more effective results, as improper application can cause irreversible skin damage or incomplete ink removal.
Adios
Attempting saline tattoo removal in your bathroom is a gamble with your skin you will almost certainly lose. The process is deceptively complex, carries a high risk of infection and permanent scarring, and the results are wildly unpredictable compared to professional laser treatments.
Your desire to be rid of an unwanted tattoo is completely valid, but your skin deserves expert care. Investing in a professional removal service is the only reliable path to clear, healthy skin without adding a new problem on top of an old one. If you have keloid-prone skin, it’s especially important to choose a clinician experienced in scar management. Some removal methods may trigger raised scars, so tailored technique and aftercare are essential.
Further Reading & Sources
- Saline Tattoo Removal vs Laser Tattoo Removal | Removery
- r/microblading on Reddit: Question: How is saline removal done? One session in and confused / have questions!
Ink Fade Lab is your trusted source for tattoo removal insights, combining expert knowledge with compassionate care to help you make informed decisions about your tattoo journey. Based on years of experience in the tattoo removal industry, we are dedicated to providing accurate, up-to-date information to support your choices.
Non-Laser Methods