
How Long Does Tattoo Removal Take? The Real Timeline
Published on: September 29, 2026 | Last Updated: September 29, 2026
Written By: Ashita no Joe
Staring at a tattoo you no longer want and wondering how long it will take to erase it? I’ve been there myself, both in the artist’s chair and the client’s, and I know that question burns brighter than a fresh laser pulse.
This guide cuts through the guesswork to give you a realistic, step-by-step breakdown of the entire process. We will cover the factors that influence your timeline, from ink color to your own skin’s biology, the typical stages of laser treatment, and what to realistically expect for healing between sessions.
Understanding the Tattoo Removal Timeline
Stages of Tattoo Fading
Immediate Post-Session Changes
Right after a laser session, your skin reacts instantly. You’ll see the treated area turn a milky white, a reaction we call ‘frosting’. This immediate whitening is a clear, visual sign that the laser energy has successfully shattered the underlying ink particles. It looks dramatic, but it typically subsides within twenty to thirty minutes.
The area will then become red and swollen, much like a mild to moderate sunburn. I always tell my clients this is the body’s inflammatory response kicking into gear. Your immune system is now aware of the fragmented ink and is preparing to clear it away. Managing this initial swelling and redness is your primary focus for the first 24-48 hours after treatment.
Over the next several days, the real magic happens beneath the surface. You might notice some slight blistering or crusting; this is a normal part of the healing process. The tiny ink particles broken up by the laser are now being slowly engulfed by your white blood cells. Your body does the real work of tattoo removal in the weeks following each session, not during the laser pulse itself. Scientifically, laser tattoo removal works through selective photothermolysis, where specific wavelengths target the tattoo ink and break it into smaller particles. These fragments are then cleared by the immune system over weeks, which is why fading progresses gradually. The visual fading becomes more apparent as this cellular cleanup progresses.
- Minutes Post-Session: Skin frosts white, then becomes red and swollen.
- First 48 Hours: Inflammation peaks. Ice packs and elevation are your best friends.
- Days 3-7: Swelling reduces. Blistering or slight scabbing may occur. Do not pick!
- Weeks 2-8: The body’s lymphatic system actively flushes out ink. This is when you see the most significant visual fading.
Factors That Impact Your Tattoo Removal Duration
Ink Color and Removal Rate
Not all tattoo inks are created equal, and they don’t disappear at the same rate. The laser targets specific pigment colors with specific light wavelengths. Black and dark blue inks absorb the laser’s energy most effectively, making them the easiest and fastest colors to remove. Nd:YAG lasers, typically at 1064 nm, are a common choice for removing black ink because this wavelength targets dark pigments very efficiently. I’ve seen black ink fade dramatically after just one or two sessions.
Vibrant colors present a much bigger challenge. Reds and oranges can sometimes respond well, but greens, yellows, purples, and fluorescent inks are notoriously stubborn. These lighter or brighter pigments often require a specialized laser attachment and significantly more sessions to show any meaningful breakdown. Some colors, like certain pastels, might never fully disappear.
Tattoo Size and Session Count
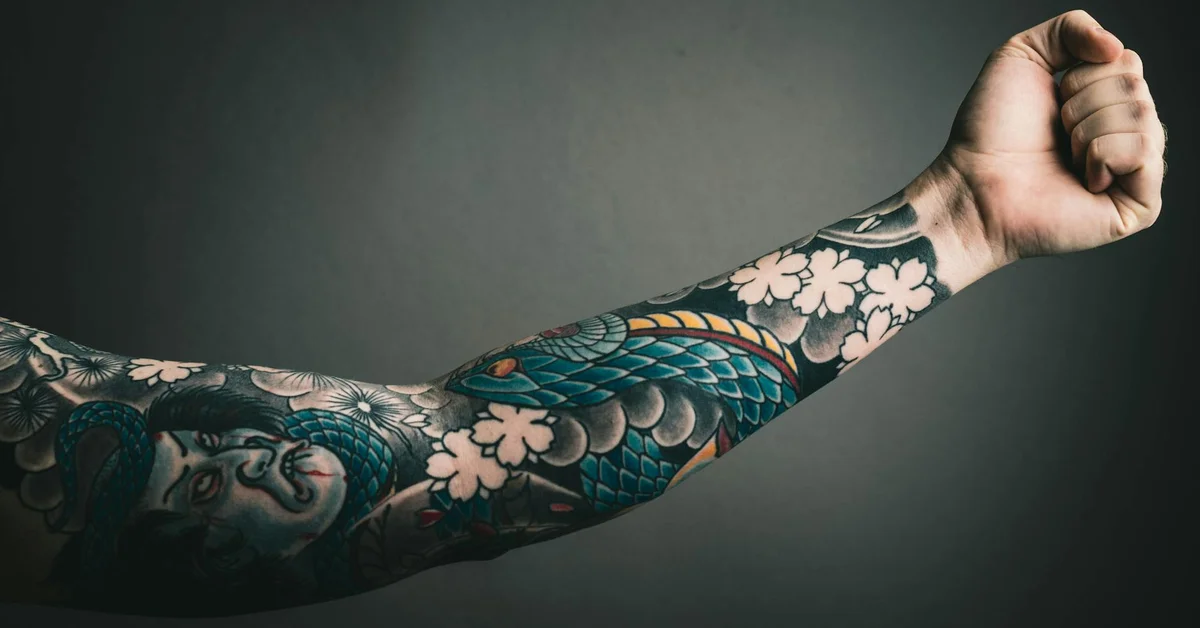
This is simple math. A small, simple line-work tattoo on your finger will require far less time and fewer sessions than a full-color sleeve covering your entire arm. Larger tattoos demand more laser pulses per session, which can extend the treatment time and the overall healing period between appointments.
Think of it like mowing a lawn. A postage stamp-sized patch is quick; a football field takes all day. We can only treat a certain surface area effectively in one sitting. For very large pieces, we often break them into sections, treating a portion at each visit, which naturally extends the total timeline.
| Tattoo Size | Estimated Session Range | Practical Reality |
|---|---|---|
| Small (e.g., a symbol) | 4-6 sessions | Can often be treated quickly in one pass per session. |
| Medium (e.g., a palm-sized design) | 6-10 sessions | May require multiple passes over the area during a single session. |
| Large (e.g., a half-sleeve) | 10+ sessions | Often treated in sections over many months or years. |
Age of Tattoo and Skin Type
Older, faded tattoos typically disappear faster than brand-new ones. Time and sun exposure have already started to break down the ink particles naturally, making the laser’s job that much easier. In general, older tattoos are easier to remove than newer ones. A tattoo you got twenty years ago will often show better progress per session than one you got last year.
Your skin’s natural pigment plays a massive role. Lighter skin with less melanin provides a clearer path for the laser to target the tattoo ink without competition. On darker skin tones, the laser must be carefully calibrated to avoid affecting the surrounding melanin, which can slow the process and requires a highly experienced technician. The Fitzpatrick Scale, which classifies skin types, is a critical tool we use to plan your treatments safely and effectively, especially when considering whether a tattoo can be 100% removed.
Your overall health is the final, and often most overlooked, factor. A robust immune system and excellent circulation are your greatest allies in flushing ink from your body between sessions. Staying hydrated, not smoking, and maintaining a healthy lifestyle will directly influence your removal speed.
The Step-by-Step Tattoo Removal Process

Initial Consultation and Assessment
Your removal journey starts long before the laser fires up. I treat every consultation as a critical diagnostic session where I map out your unique path to clear skin. I examine your tattoo’s age, ink colors, depth, and your skin type. Darker inks like black and dark blue absorb laser energy beautifully, while stubborn colors like green or yellow require specialized lasers. I also assess your skin’s health and discuss your medical history. This isn’t just a chat; it’s a strategic planning meeting. In many cases, laser removal also targets pigment irregularities in the surrounding skin, helping even out tone as the ink fades. I tailor the treatment to address both the tattoo and any accompanying pigmentation concerns. I’ve seen tattoos that looked simple reveal complex layering, drastically changing the treatment plan.
Frequency of Sessions and Healing Intervals
Patience is your most powerful tool here. Your body needs time to flush out the shattered ink particles. Rushing the process by booking sessions too close together is counterproductive and can increase scarring risk. I enforce a strict 6 to 8-week minimum between appointments. This healing window allows your immune system to do its job. Your skin must be fully recovered from the previous session before we proceed. Think of it like doing laundry; you need to let one load finish before you can start the next. From my own experience removing a forearm piece, respecting these intervals was the key to achieving smooth, clear skin without textural damage.
Number of Sessions Required for Complete Removal
Clients always want a definitive number, but I give them a realistic range instead. Most professional tattoos require between 8 to 12 sessions for full clearance, but many factors can push this number higher or lower. A tattoo done by an amateur with less ink saturation might clear in 5 or 6 sessions. Conversely, a dense, multi-colored sleeve can easily take 15 or more. The tattoo’s location matters too; ink on areas with high blood circulation like the torso often fades faster than ink on extremities like ankles and wrists.
- Amateur Tattoos: 5-8 sessions
- Professional Linework: 8-10 sessions
- Professional Shaded/Graywash: 10-12 sessions
- Dense Color Packing (especially green/blue): 12+ sessions
Per-Session Fading Progress
Do not expect your tattoo to vanish after one session. The first treatment often produces the most dramatic visual change, breaking up the top layer of ink for your body to remove. You will see a noticeable lightening. Subsequent sessions target progressively deeper ink. The fading is cumulative. Progress is best measured from session to session, with each appointment revealing the next phase of fading. Over subsequent visits, you’ll notice the effect building gradually as the ink breaks down further. After a few sessions, the tattoo will appear fragmented and patchy. This is a good sign! It means the underlying ink is being systematically dismantled. I remind my clients that complete removal is a marathon, not a sprint, and each session is a crucial mile marker.
Recovery Timeline and Post-Treatment Care
Downtime After Laser Tattoo Removal
“Downtime” doesn’t mean you’re bedridden, but your skin needs rest. The immediate 48 hours post-treatment are the most critical for managing the inflammatory response and setting the stage for proper healing. You can typically return to work and light duties the next day. You must avoid strenuous exercise, swimming, and saunas for at least 3-4 days. The treated area will feel like a bad sunburn. The visible healing-where the skin looks normal again-usually takes 1 to 2 weeks. The invisible healing, where the deeper skin layers are ready for another laser session, takes the full 6-8 weeks.
Common Side Effects and Management
Some temporary side effects are completely normal and a sign the process is working. Proper aftercare is non-negotiable and directly impacts your final results and comfort level. I provide all my clients with a simple, strict care protocol.
- Swelling & Redness: This is an immediate inflammatory response. Apply a cold pack for 15-minute intervals during the first day to reduce swelling.
- Blisters & Crusting: Do not pop blisters or pick at scabs. This is your body’s natural bandage. Let them dry out and flake off naturally to prevent scarring.
- Itching: As the skin heals, intense itching is common. Apply a thin layer of a recommended ointment like Aquaphor. Slapping the skin gently can also relieve the sensation without causing damage.
Keeping the area clean and protected from the sun is your single most important job between sessions. I’ve seen perfect laser work ruined by a client going on a beach vacation without proper sun protection on the healing area.
Realistic Expectations and Long-Term Results
Timeline for Different Skin Tones and Tattoo Locations
Your unique biology is the single biggest factor in your removal timeline. Skin with more melanin absorbs laser energy, which can compete with the ink and sometimes requires lower, more cautious settings. This isn’t a barrier, just a reality that often adds a few extra sessions for safety and efficacy.
I’ve worked on all skin tones, and the key is a practitioner who knows how to adjust the laser. Rushing the process on darker skin risks hypopigmentation, leaving permanent light spots.
Tattoo placement is another huge variable. Ink fades fastest where your body has excellent blood circulation.
- Arms, Chest, Back: Good blood flow helps your immune system clear shattered ink particles. Expect a standard timeline.
- Ankles, Feet, Hands, Fingers: These are the slowest areas. Poor circulation means a sluggish immune response. I always tell clients to add several months to their projected finish line for these spots.
- Over Bony Areas: Shins, wrists, and ribs can be more painful and may heal slightly slower, potentially spacing out sessions.
Your artist’s technique also plays a massive role. Amateur tattoos with inconsistent depth are often easier to remove than dense, professional ones packed tightly into the skin. I had a professional piece on my own calf that took nearly double the sessions of a stick-and-poke I got in my youth.
Why Professional Removal Beats DIY Methods
I’ve seen the aftermath of every DIY removal method imaginable, and the results are consistently devastating. Salabrasion, chemical peels, and even using salt and ice are medieval techniques that destroy your skin’s top layers without effectively breaking down the underlying ink. You are trading a tattoo for a significant scar. In practice, the best overall method for tattoo removal is professional laser treatment performed by a licensed clinician. It offers safer, more reliable results when done correctly.
Laser removal is a targeted demolition. The energy bypasses your skin to shatter the ink into tiny particles your body can naturally eliminate. DIY methods are a blunt-force attack on your entire epidermis. Fractional laser tattoo removal uses focused, microscopic columns of laser energy to break up ink while preserving surrounding skin. This precise approach can offer more controlled healing and reduced downtime compared to DIY methods.
- Professional lasers target specific ink colors with precision. A kitchen-table acid burn cannot differentiate between your skin and the tattoo.
- Clinical settings ensure sterility. At-home procedures carry a high risk of infection, which can lead to permanent tissue damage and complicate any future professional removal.
- Pain management is real. Professionals use medical-grade numbing and cooling systems. DIY is just raw, unmanaged pain for a inferior outcome.
The only semi-safe DIY method is using a topical fading cream, and even then, their effectiveness on anything but the faintest tattoos is minimal. You are paying for a professional’s knowledge of skin physiology and laser physics, not just a machine. That expertise is what prevents lifelong scarring and actually delivers the clean slate you want. In a clinic, laser safety protocols—eye protection, calibrated energy settings, skin cooling, and thorough patient screening—minimize risks and protect both you and the staff. A reputable tattoo removal clinic will follow established safety standards to ensure you get safe, predictable results.
Frequently Asked Questions
How reliable are the tattoo removal timelines shared on online forums like Reddit?
While Reddit can offer personal anecdotes and support, individual timelines shared there often vary widely due to factors like ink type and aftercare, so it’s best to consult a professional for a personalized assessment rather than relying on generalized community posts.
Why is it helpful to take pictures during the tattoo removal process?
Taking regular photos allows you to objectively track fading progress over time, which can be motivating and help you and your technician adjust treatment plans based on visual evidence of how your skin and ink are responding.
How does the day-by-day healing after a session differ for amateur vs. professional tattoos?
Amateur tattoos, often with less ink saturation, may heal faster with reduced swelling and blistering, while denser professional tattoos can lead to more prolonged inflammation and slower daily recovery due to the higher ink load your body must process.
Closing Words
Removing a tattoo is a journey of patience, not a quick fix. Your timeline will be unique, shaped by your skin, the ink’s age, and your body’s own healing rhythm. Expect multiple sessions spaced months apart, with the full process often taking a year or more to see the results you want. To understand each phase better, you can learn about the tattoo removal process.
Your safest and most effective path is always through a qualified professional. I’ve seen too many DIY disasters to recommend anything else. Invest in expert care, follow your aftercare protocol to the letter, and trust the process. Your clear skin is worth the wait.
Further Reading & Sources
Ink Fade Lab is your trusted source for tattoo removal insights, combining expert knowledge with compassionate care to help you make informed decisions about your tattoo journey. Based on years of experience in the tattoo removal industry, we are dedicated to providing accurate, up-to-date information to support your choices.
Healing Stages